Stamped Border Card Tutorial
I have been just obsessed lately with stamping borders around my cards and projects. I love that I can mix and match inks to get color variations and the look of a stamped border really reminds me of old time letter press. Today I put together a little how to make a stamped border card tutorial. This is a video tutorial but I will also explain what I did in some of the steps below. I hope you will all join me in this card tutorial series and make some fabulous, one-of-a-kind greeting cards.
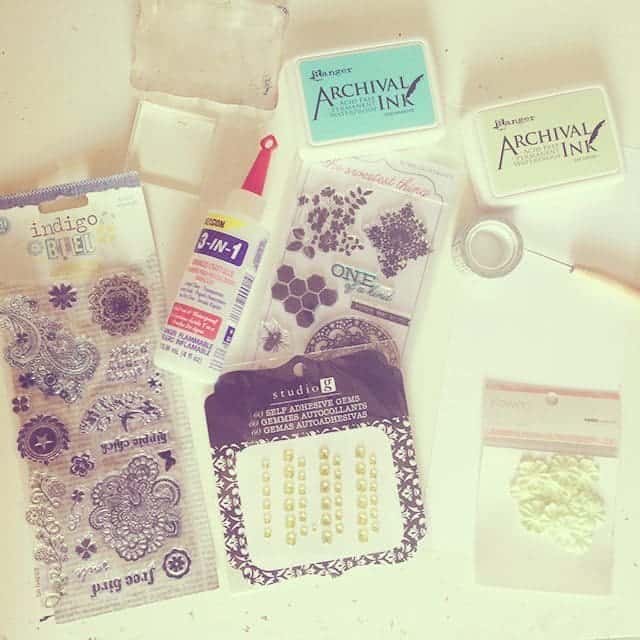
First thing is first, we should get started with some supplies. This is what I used but you can use similar products as well.
- White Card Stock
– 250 sheets for $9.90
- Apple Pie Memories Stamp Blocks – 3PK
– 3 for $6.39
- Ranger Archival Inkpad, Aquamarine
– $6.57
- Ranger Archival Inkpad, Sap Green
– $6.57
- Light Duty Awl
– $9.06
- Beacon 3-In-1 Advanced Craft Glue, 4-Ounce
– $7.98
- My Mind’s Eye – The Sweetest Thing Collection – Honey – Clear Acrylic Stamps – Happiness
– $6.36
- Tissue Tape – $6.31
- Pink Paislee Indigo Bleu Clear Stamps
– $5.18
- Studio G Green Rhinestones – Michaels $1 section
- Kaiser 2cm Green Flower 50pk
Once you have all of your supplies you are ready to get crafting.
Instructions
- Tape down your card with the tissue tape so it doesn’t move around. The tape also acts as a mask to protect the back of the card from any stamping.
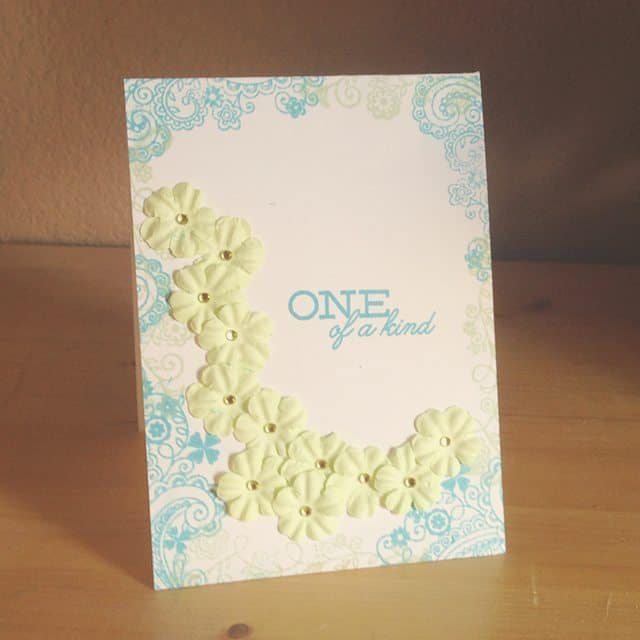
- Take your paisley and flower stamps and begin stamping them randomly around the edges of the card. You can use as many or as few colors as you like. I used two, a light blue and a light green.
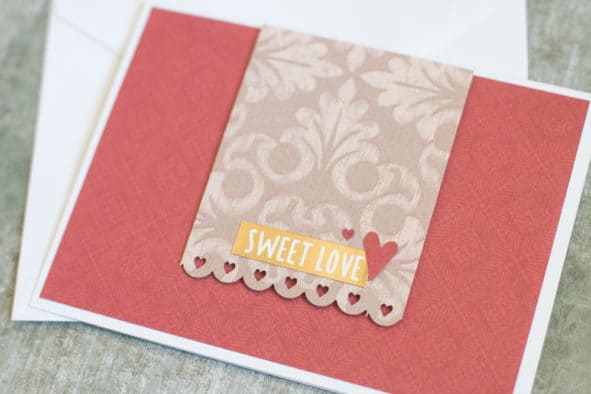
- Once you have a border you like stamp your sentiment on the center right hand side of the card.
- Layer some paper flowers in an ‘L’ shape around the bottom right hand corner of the card and glue them down.
- Using your awl, place small rhinestones in the center of each flower.
Stamped Border Card Tutorial Video
A video tutorial is available for this card. Just click the play button below to watch it.