
Altered Embroidery Hoop
I am the kind of person that saves things even if I have no idea what I can use them for. I’ve saved cool boxes, dollar store vases, reclaimed wood and all kinds of chipboard in hopes that I will one day find projects for it all. One thing I have had this embroidery hoop in my stash for YEARS and I figured it was finally time to get it out and do something with it. This is an altered embroidery hoop project that I wanted to share.

The first thing I did was paint the embroidery hoop. I wanted a vintage look so I broke out my Modern Masters copper paint and green patina solution. This stuff is amazing and if you love the patina look I highly recommend investing in some of this stuff. It is expensive but it lasts quite a while and the results are spectacular.
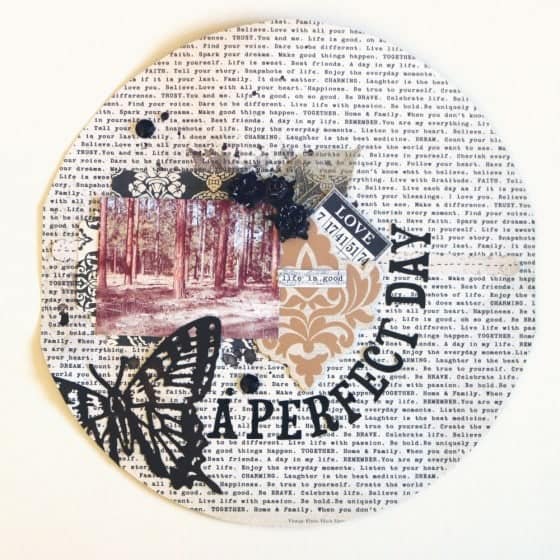
Once the hoop was dry I layed it on down on a 12″ x 12″ sheet of scrapbook paper. I traced around the outside lightly with a pencil and cut it out. I then proceeded to decorate the circle just as I would any normal scrapbooking layout. It is a lot easier to do this when the paper is not attached tot he hoop. Just remember not to put any bulky embellishments right on the edge of the circle because that is where we are going to attach the embroidery hoop.
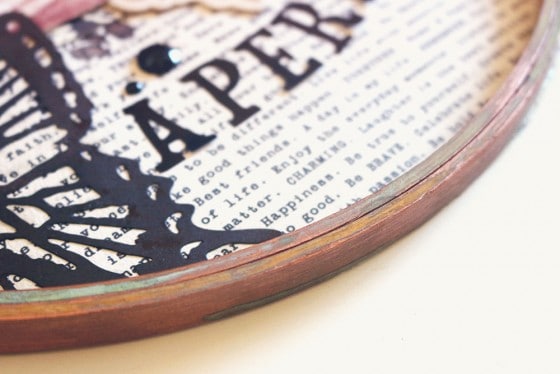
Once I was finished I added a little bead of hot glue all the way around the hoop and placed it ontop of the layout being careful to line it up. If you have any extra hanging off it’s easy to trim up with a craft knife. In this picture you can see the beautiful patina on the hoop.
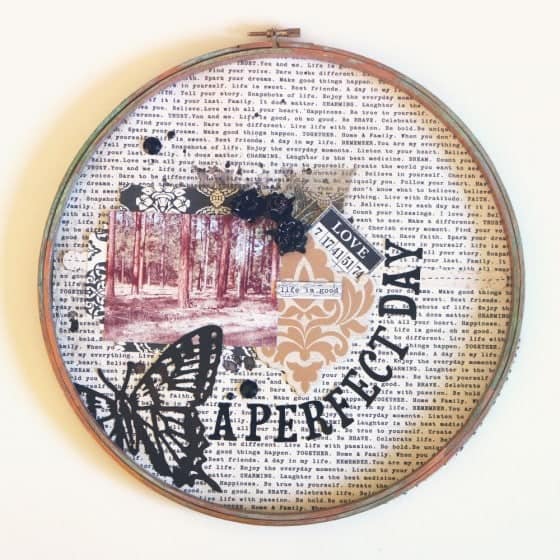
Once everything is attached securely and dry you can hang it on the wall and it already has a perfect frame. I used two small nails just under the screw at the top. You can cover the screw up with a bow if you don’t want it to be seen. You can also add wire to the screw if you find it hard to hang it up with nails.
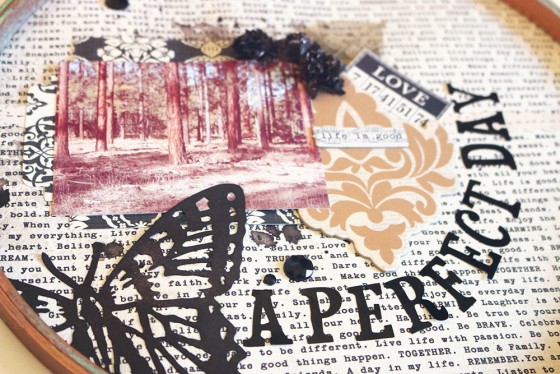
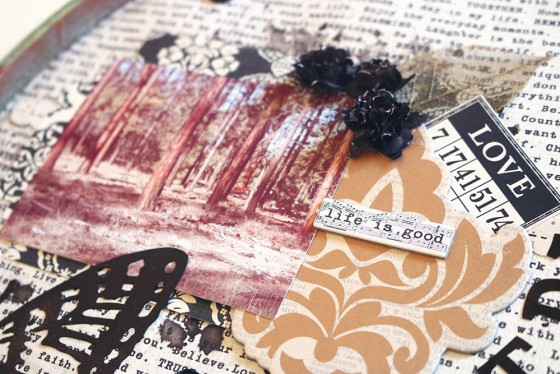
One of my favorite parts of the layout was actually the dark water stains. I simply dropped some Airondack inks on the paper and sprayed them with a little water to make it look like water splatters.
What kind of cool things have you made from things you would normally throw away? Leave your answers in the comments below.

Love this Chelsea, Thanks for such great inspiration in helping us think out side the box to use our supplies for creating different and unique things.
With great admiration, Debby