How to Organize Your Scrapbooking Supplies
Scrapbooking is a hobby that takes up a lot of space. From paper to stamps to embellishments, a scrapbookers collection is constantly growing. Here are my 10 steps and tips to help you organize your scrapbooking supplies.
- Don’t do it all in one day. It doesn’t matter if you have a lot or a little. Getting organized is a time consuming process especially if you have a hectic household. Give yourself time to complete this organization project. Try to devote at least 10 minutes a day to getting your crafting supplies organized. Just go one step at a time, you can do this.
- Get all of your supplies in one place. It doesn’t matter if you have an entire craft room or just a kitchen table. Get all of your supplies into one set place. This will make it easier to sort and organize your supplies as well as give you a place to store all of those goodies.
- Sort your products and supplies by type. The first step in sorting is getting like products together. You can use piles, boxes or bags to keep like products together for sorting into categories later.
- Know the difference between containers and organizers. You might find it easier to throw all of your stickers into one storage bin and your bling into another but did you ever think about storing them together? I have noticed that when I have to open 10 different containers and search through each one to find all of my green supplies I often don’t want to scrapbook anymore. I spend too much time just looking for the right supplies instead of using them. Having all of your supplies organized with categories instead of types will make it easier to find matching products.
- Sort by category. Now that we know the difference between containerization and organization we can start sorting all of our products by categories. To start this task I made a list of everything that I scrapbook about. You can see my list here. I then separated my flat supplies into one of these categories. If something fits into more than one category think of where you would use it more and where you would look for it.
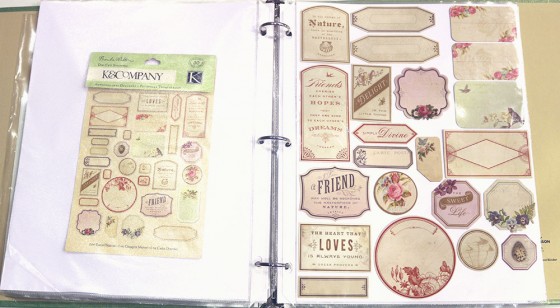
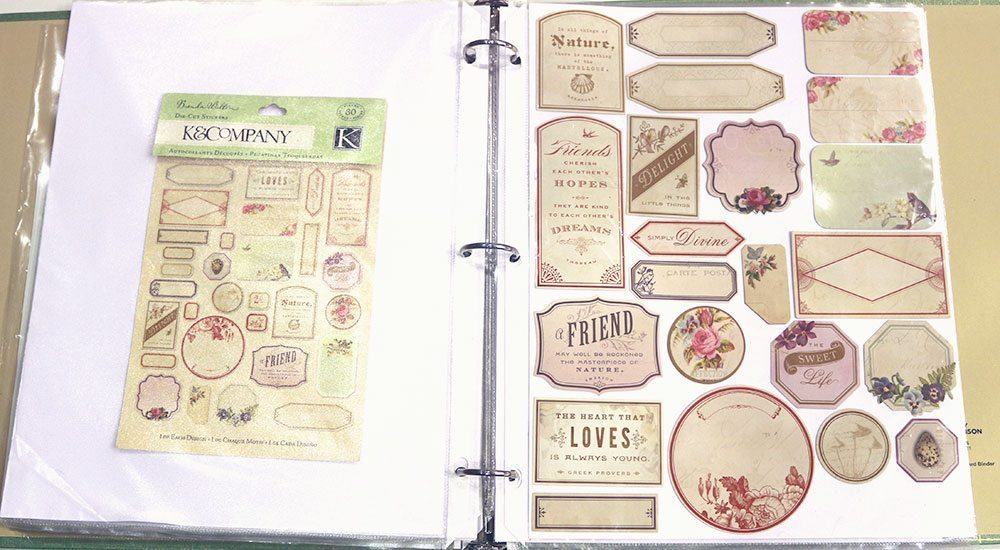
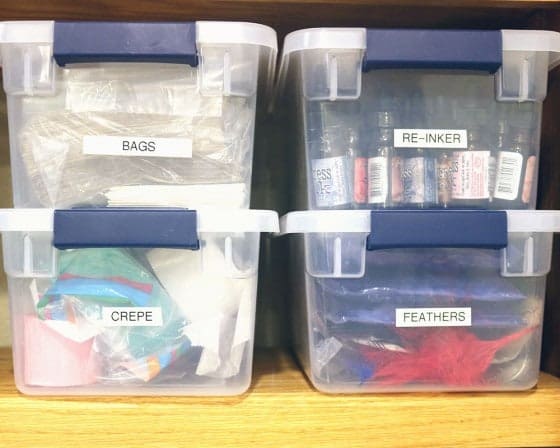
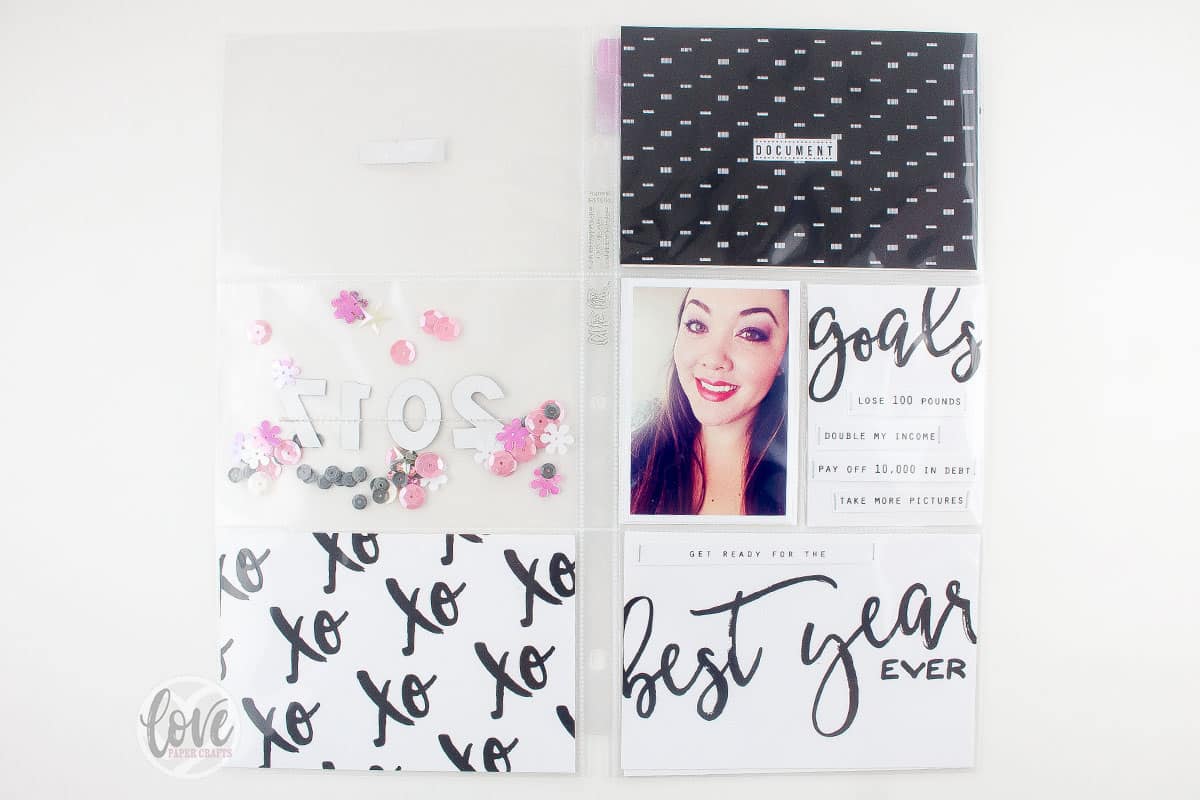
- Find a suitable storage option. Once you have everything sorted by your own categories you will need to find an organizer to store it all. There are several options for scrapbooking organizers. For flat supplies I like to use binders and page protectors. It makes it easier to go through everything and see what I have. Items can also be stored in category separated containers or filing bins.
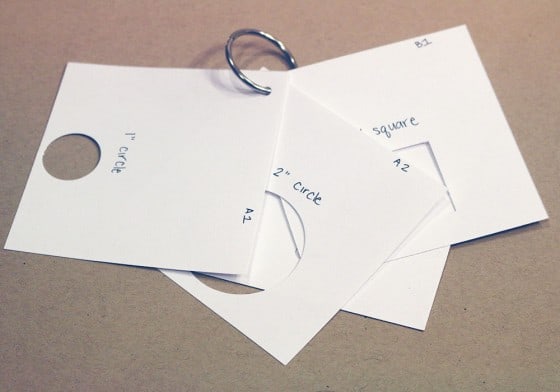
- Create catalogs for bulky items. This is probably my favorite par of organizing. Basically you are going to create a catalog for all of your bigger items that you can’t store with the flat supplies. You can do this for anything, stamps, punches, brads, ribbons, flowers, paints, inks and absolutely anything you can think of! So for punches I cut 4” x 4” sheets of paper and punched each of my punches onto one. I buy the cheapest cardstock I can find you can check it out here. I number each punched paper as well as the punch so I can easily find the one I want. I use a binder ring to hold the catalog together and I keep it hanging on a wall nearby so it’s easy to reach and look through. My actual punches are stored in a drawer that can be easily accessed but is still out of the way. You can do this for absolutely anything you can think of and it will really help to keep your desk clean and it will make it a lot easier to know what you have available.
- Keep things you use often nearby. I admit that there are some of my tools that I overuse a lot. My corner rounder punch for example is one thing that I just can’t live without. I keep one drawer right next to me for all of my go-to supplies. Some things are used so often that they don’t need to be organized. Keep these items close so you don’t have to search for them every time you want to use them.
- Don’t be a hoarder. If it is not something you use don’t be afraid to get rid of it. I know it’s hard sometimes to throw things out but just think of all the room you will have for new products. Have a yard sale or donate your old items to someone who can use them.
- It’s okay to feel overwhelmed. I often feel like I’m drowning in paper and stickers. Just take a breath and keep organizing. You will be happy with the results, I promise.
Now your organized, what now? It is all too easy to fall back into old habits of just throwing things around. It does take work but just remember to put supplies back after each use or at the end of each project. If I have a project that lasts for more than one sitting I will clean most of my supplies up at the end of each sitting. It helps me stay focused the next time I sit down to work on it.
Don’t buy anything that you don’t have room for and when you get new products home organize them into their proper spots right away. Add that new punch to your catalog and file those Christmas stickers into their proper category. You will be a much more proficient scrapbooker with a tidy and organized space.

Enjoyed the article.
I have stickers that are really really old. Are they sill usable?
Yes you should be able to still use them. If the glue is dried on the back you can try hot gluing it to a new sheet of paper, cutting it out and applying your own adhesive to the back to get a good stick. I have had some that were so old that they faded, I usually toss these ones out.
Thanks for the great tips. I have been struggling with organizing this summer. I was given some great supplies after a relative died, but they have overflowed the system I had. I think I will re do by color and that should be much better. Wish me luck!
So helpful! Thank you for sharing these..